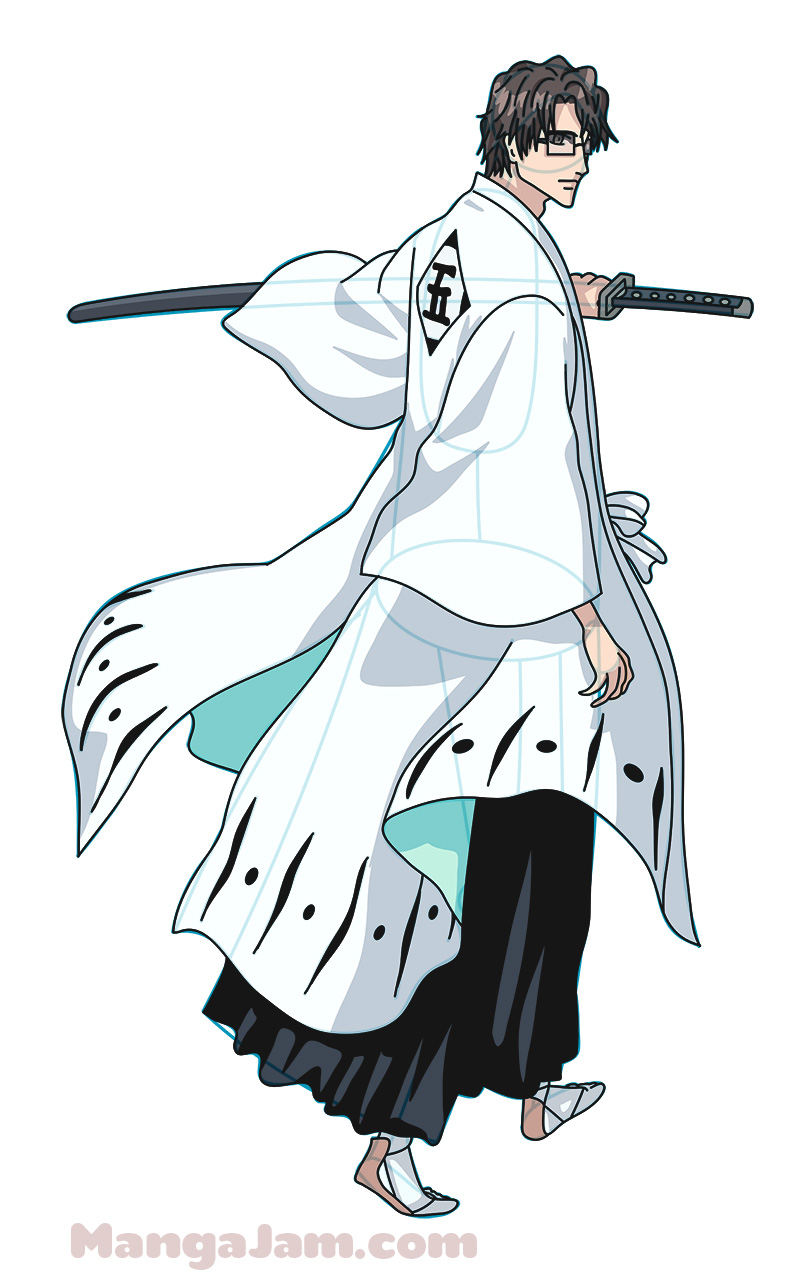
Welcome back, mangakas! Today on How to Draw Manga our tutorial is on Ichigo from the Bleach manga series. From our finished drawing you can see that Ichigo has had either a really awesome or really awful day fighting the evil hollows and guarding good “wholes”. Ichigo took on the powers of Rukia when she got stuck in the human world, agreeing to defend his city against the unclean spirits. In case you missed it, here you’ll find Rukia’s tutorial as well. They make a powerful fighting team! Click on the Bleach tag in the tag cloud on the right for all of our Bleach drawing tutorials. Ok, everyone get out your pencils and kneadable eraser as we’re about to begin.
Step 1
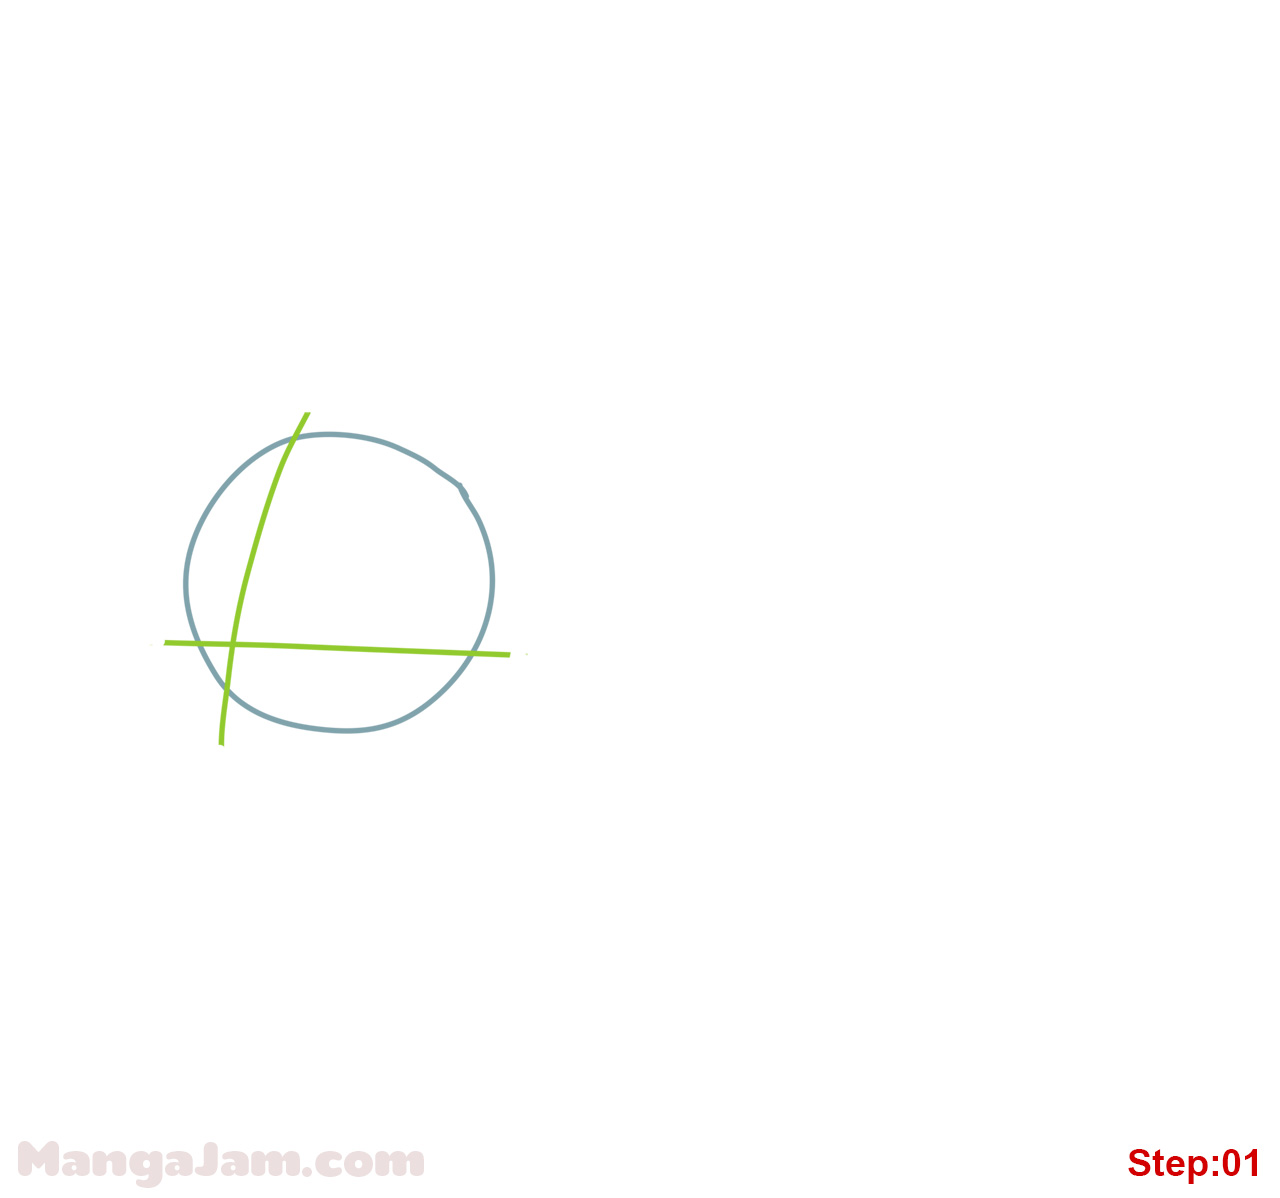
Step 1: Returning mangakas will already know that the blue lines you see in this tutorial are all construction lines and we will be erasing them in later steps, so be sure to draw the blue lines you see in pencil so they can be easily erased or lightened in later steps. We’ll save our black pen for our final lines which you’ll see in black later at the end of the tutorial. We’ll begin by drawing our head circle which is slightly wider than tall in the upper center of our paper. A pretty easy start.
Step 2
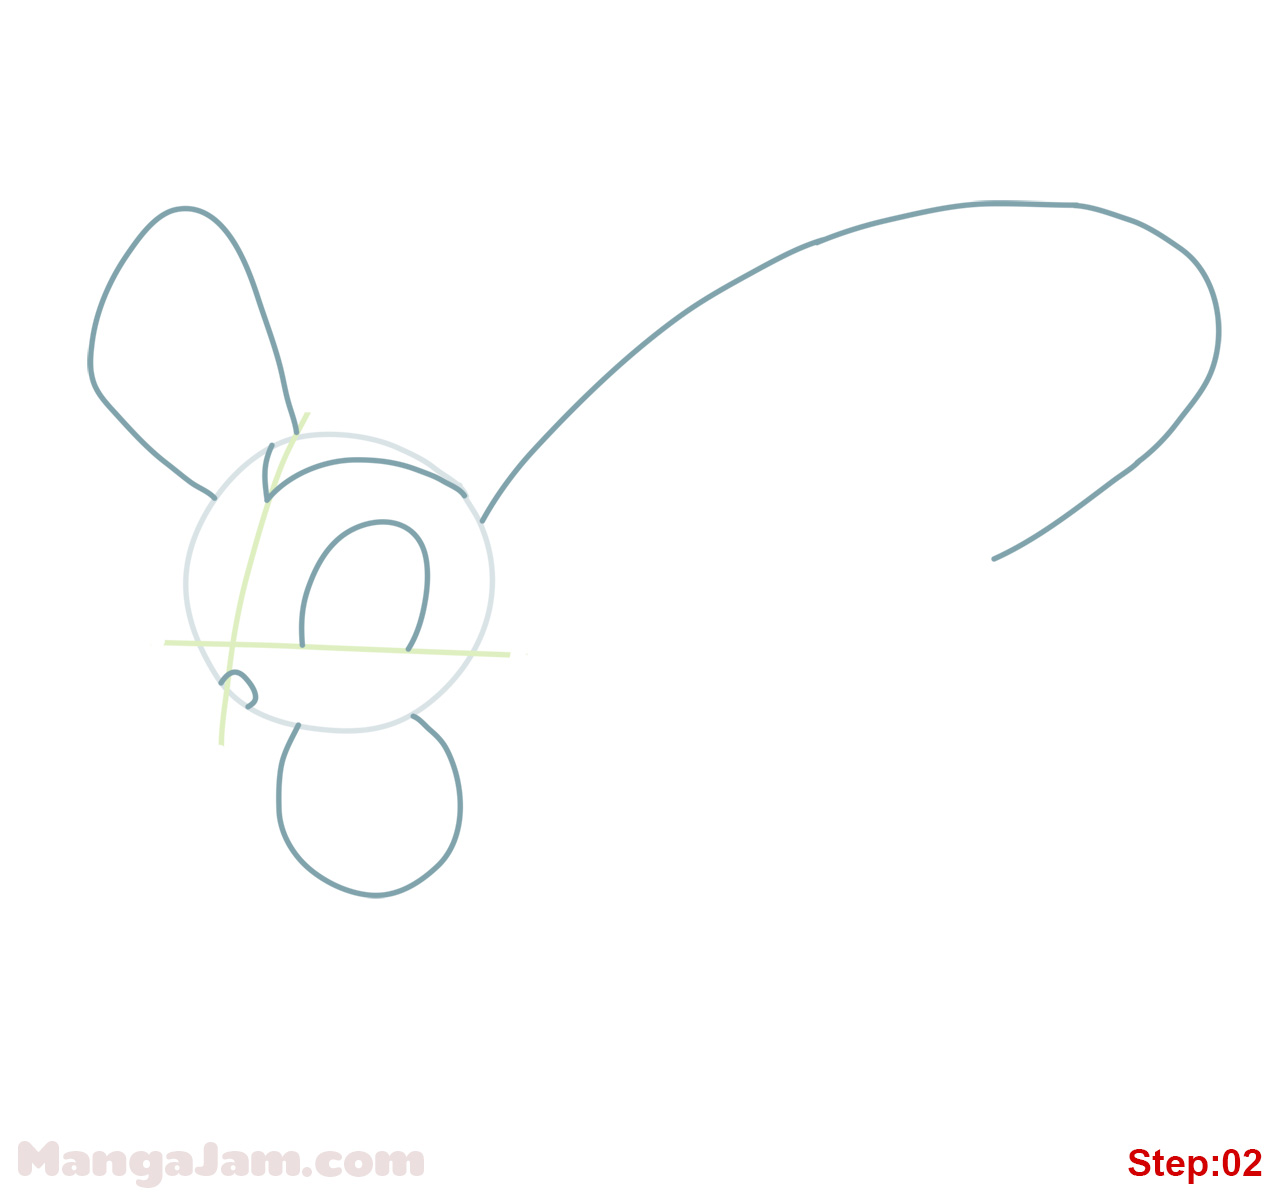
Step 2: Now, we’ll draw our center and eye lines to help us locate Ichigo’s features. The center line is about twice as long as the head circle and directly in the center. The eye line is quite near the bottom of the head circle and curves upward at the ends.
Step 3
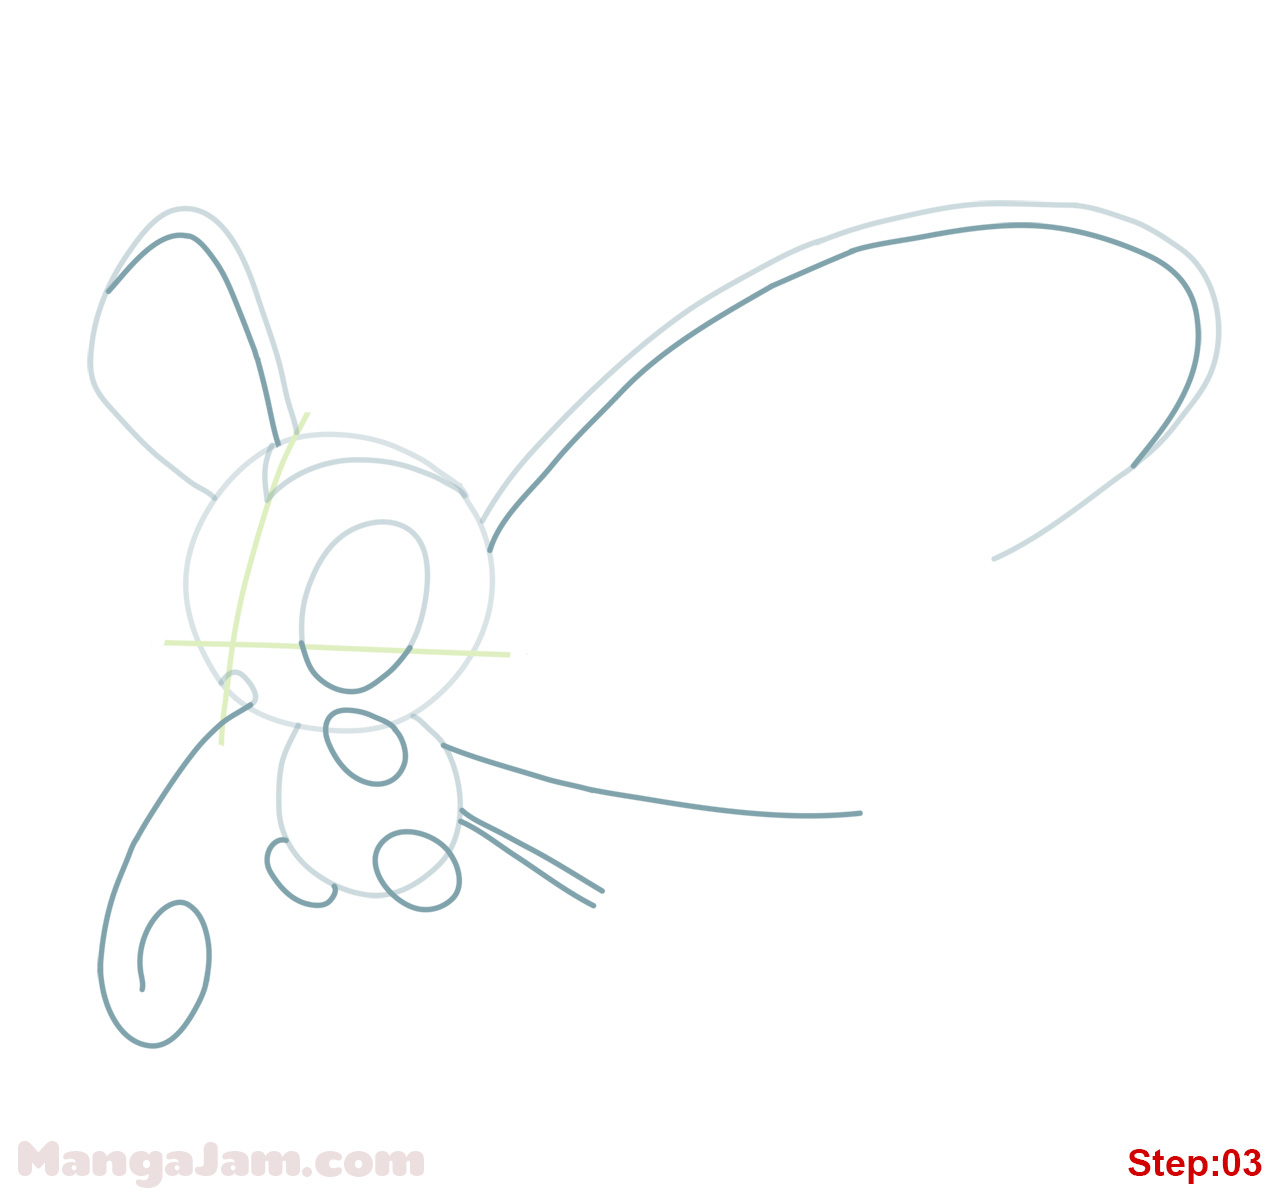
Step 3: Time for Ichigo’s jaw, now you can see why the center line is so long! We should draw two slanting lines on either side of the head starting from the point where the eye line touches the head circle, then we’ll add a curved line connecting these two slanting lines and we should have it. As you can see, the chin will be rounded.
Step 4
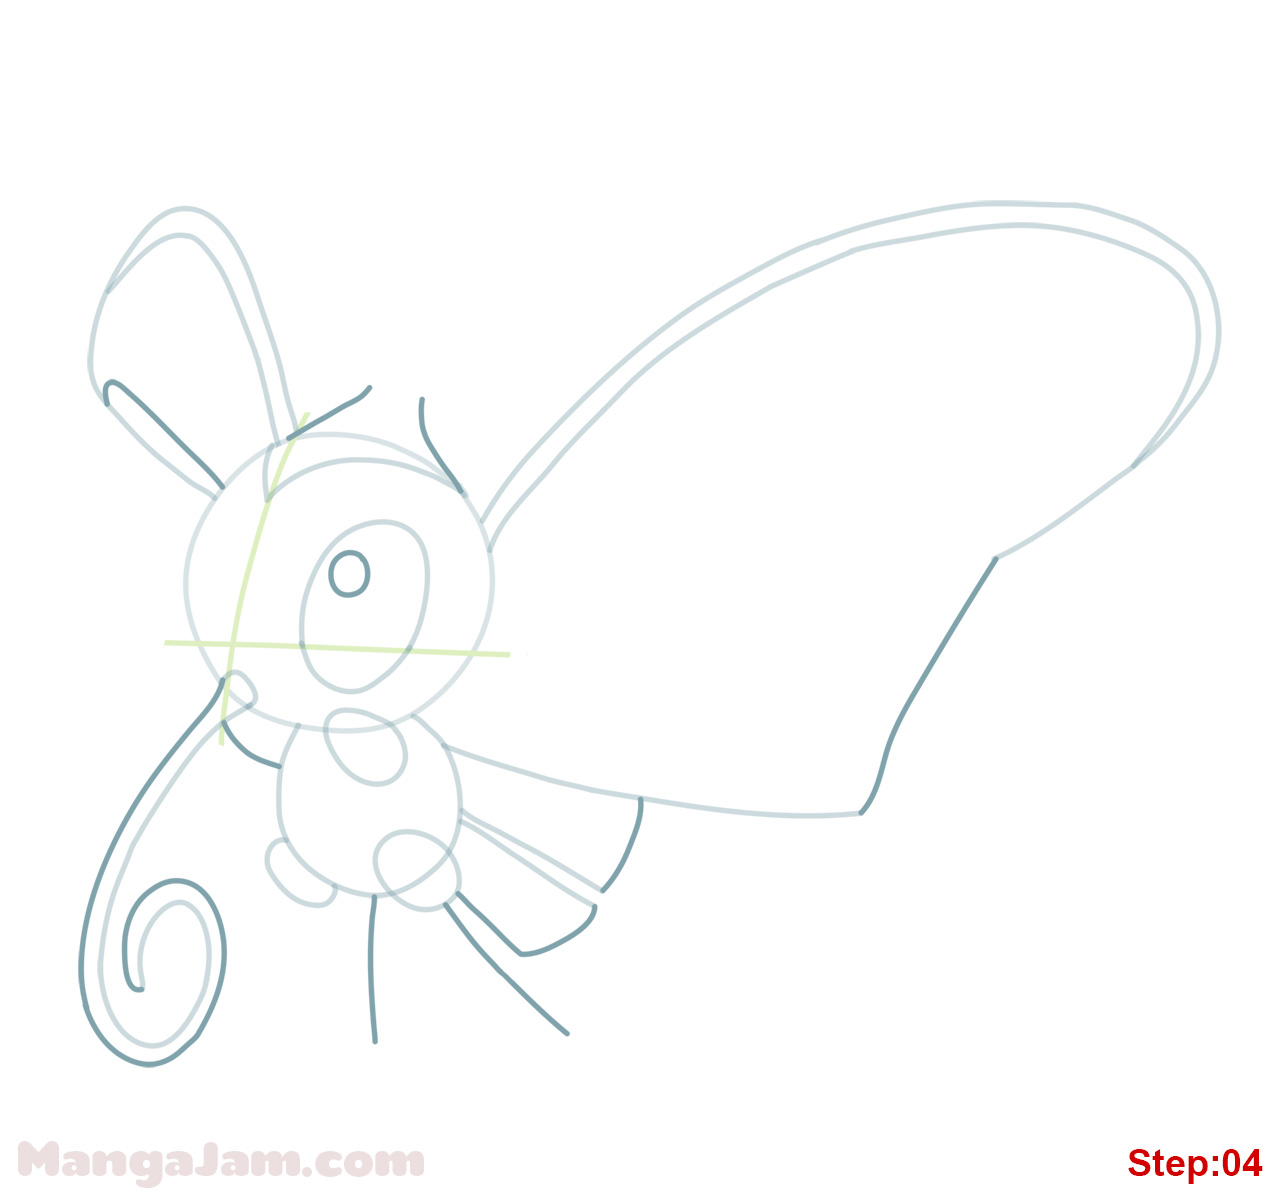
Step 4: We’ve got a fairly straightforward step here. We’ll add two “cup handles” to either side of the head for his ears. When you’ve got them, let’s move on.
Step 5
Step 5: Here, we’ll draw two almond like shapes on the eye line for Ichigo’s eyes.
Step 6
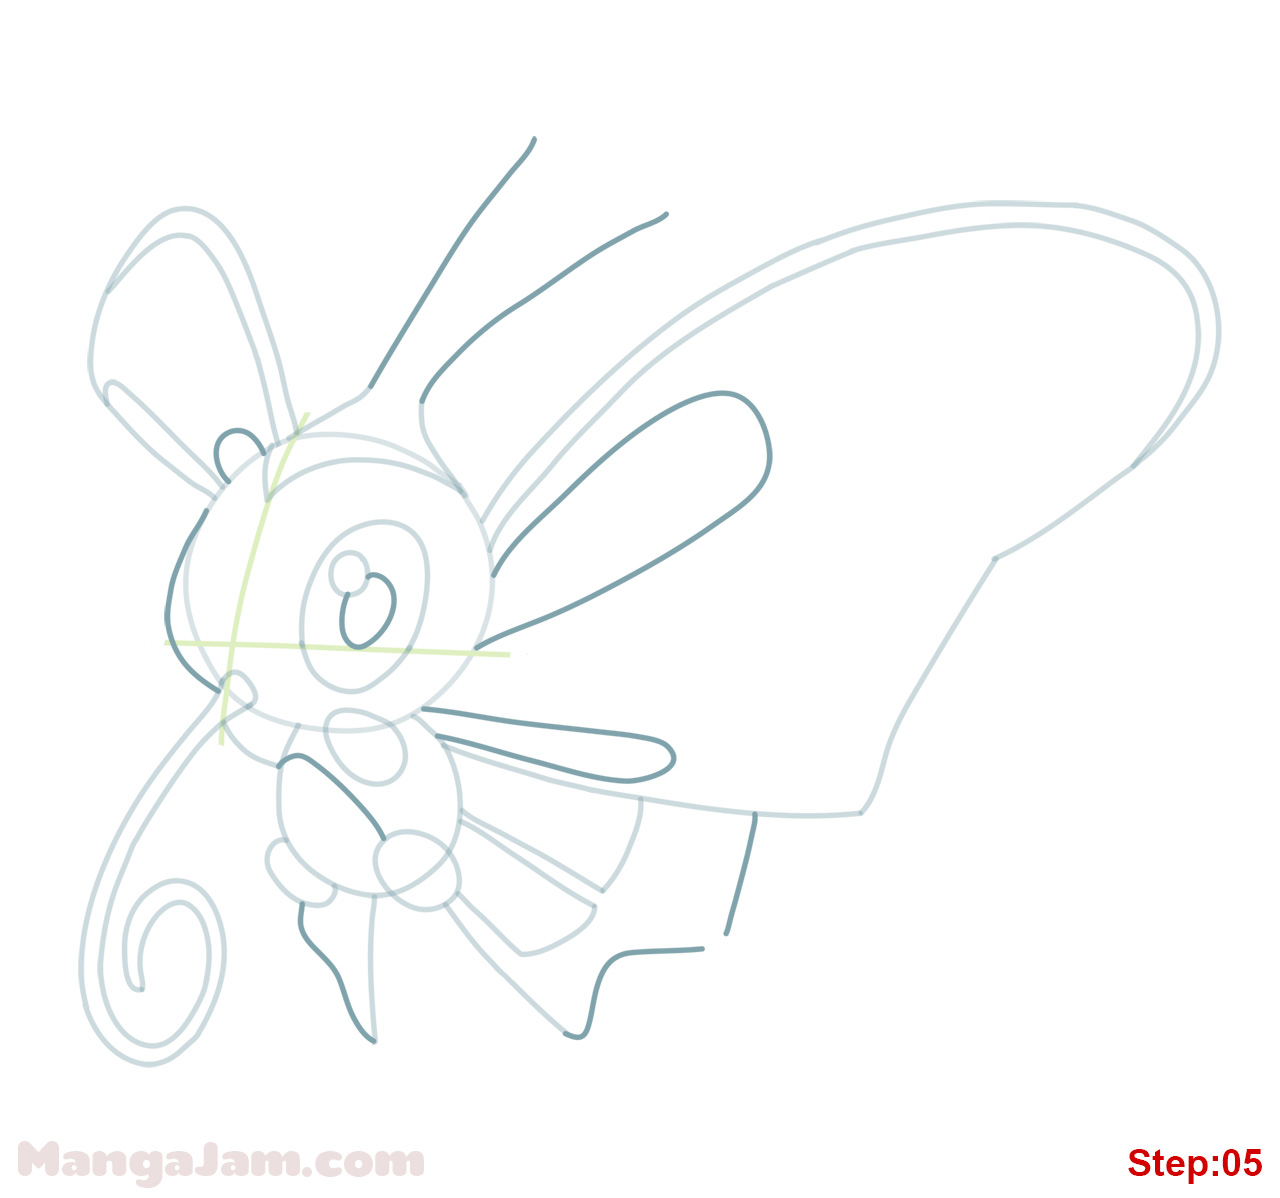
Step 6: Ok, mangakas, time to get into the nitty gritty. Let’s begin by adding the two lines under each eye, these’ll be for his sleepless circles under the eyes. Next, we’ll draw two hard hook shapes over each eye for his eyebrows. After we’ve got those, draw a line inside each ear for its inside. Next, I’d recommend trying the mouth, which is a highly irregular shape. Try to draw it and if you make any errors, don’t worry just erase and give it another shot. Before moving on, we’ll add a small crescent shape over the mouth for his nose.
Step 7
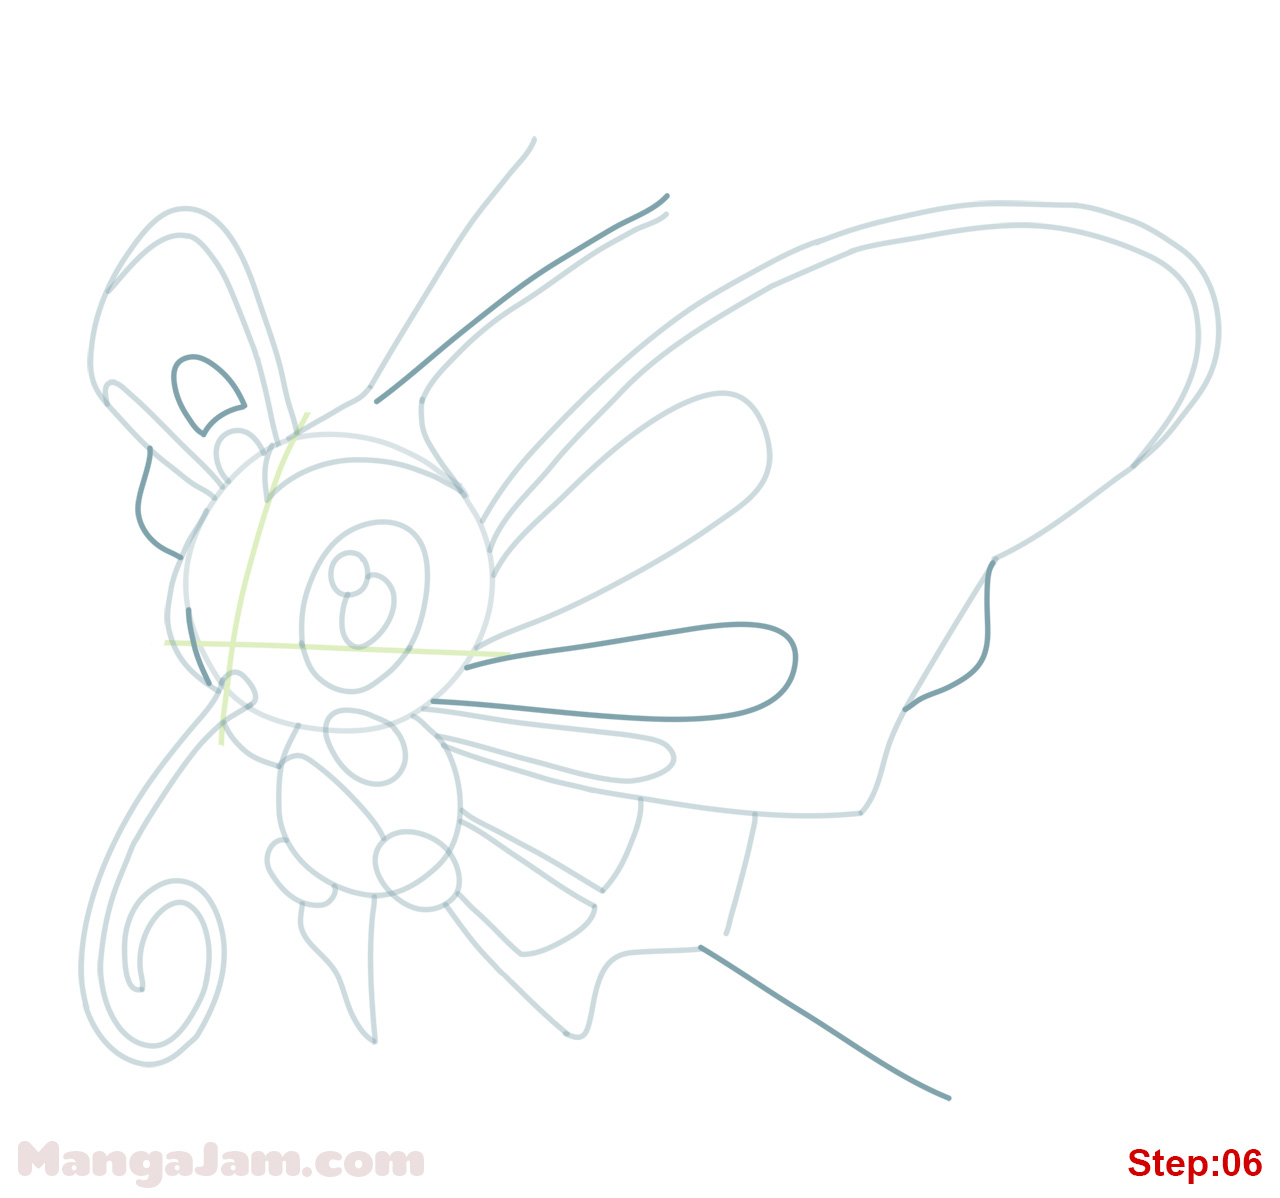
Step 7: After that step, we can take a bit of a breather and do two lines on either side of the head for the neck. Both lines curve in slightly and the line on the right is longer and more outward curving at the bottom than the line on the left.
Step 8
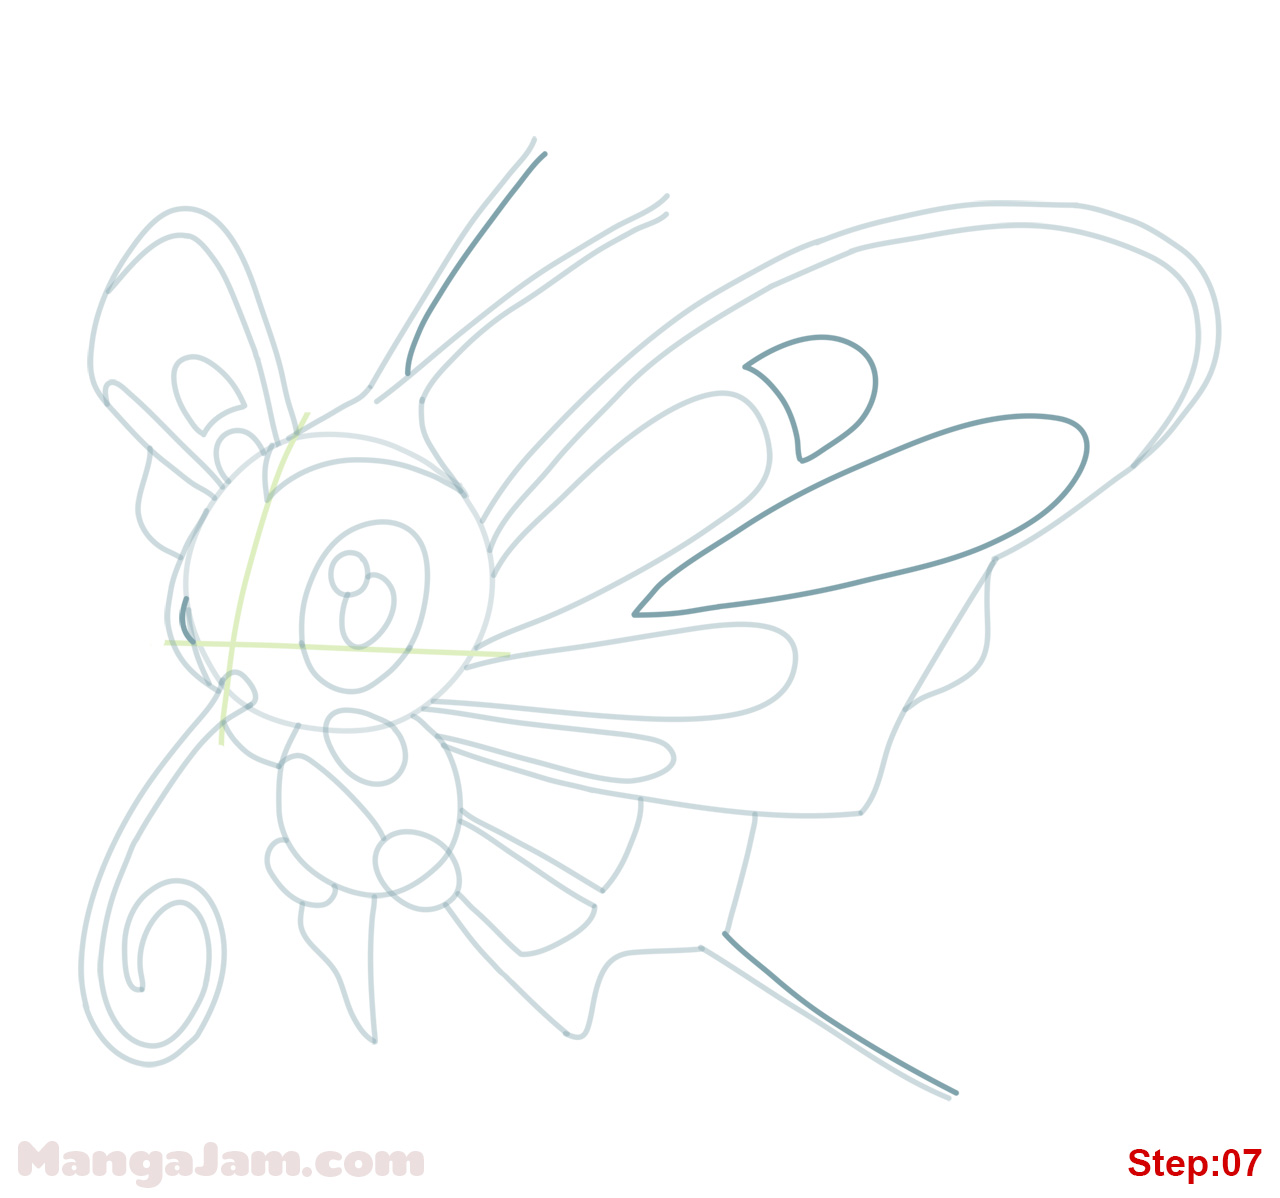
Step 8: Great job, Ichigo is really starting to come out. In this step, we’ll draw a circle inside each eye on the eyeline for his irises and a dot inside each for the pupil. Next, we’ll add the upper line inside his mouth for his teeth. Then, draw a sausage like shape for his tongue and then connect it on either side to the mouth shape. Notice, the tongue is not as big as the mouth. Lastly, we have to add the irregular lines on his neck for Ichigo’s adam’s apple.
Step 9
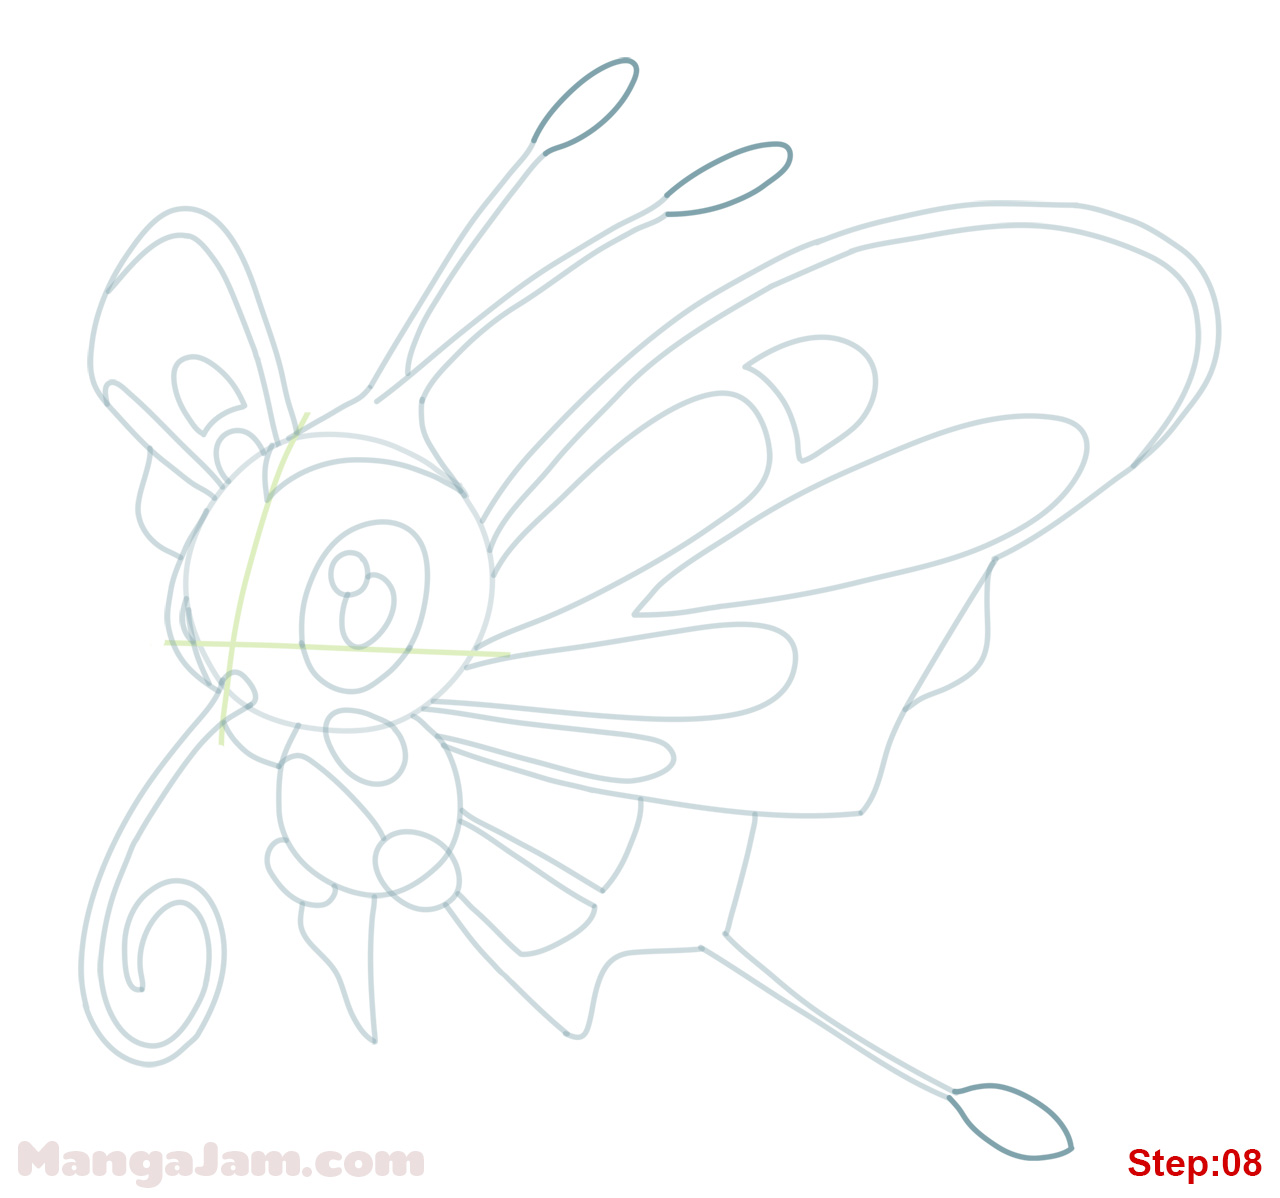
Step 9: Take a break from the face for a minute and we’ll focus on Ichigo’s shirt, collar and neck. It might be easiest to begin by drawing two rectangles on either side of the neck. And then you can draw in the detail lines. Notice that the collar on the left curves slightly at the bottom to suggest his shirt. Also, we need to add a line on the left and a shorter line on the right for his shoulder. And, finally, draw a diagonal line from the collar on the left for his neck line.
Step 10
Step 10: As with most of the manga characters on the site, hair is all important and Ichigo is no exception. We have to draw a halo of spikes around Ichigo’s head for his hair. It’s very irregular, but you should notice that all the spikes radiate away from the head and the hair in the left and right corner is longer than in the front. Give it a try and feel free to erase and try again.
Step 11
Step 11: Well, from the looks of it I’d say Ichigo is having a rough day and this step shows it. We need to make some injury marks under the eye on the right. Then, under the hair we drew in the previous step, we need to add the irregularly shaped blood stain on the left side of the face.
Step 12
Step 12: Great work, mangakas. Now that we’ve got all of our construction lines in place, we’ll lighten all of our lines until they are barely visible. Then we’ll get out our pen and trace our final lines in black. In this step, be sure not to fill or darken anything as we’ll be doing some of that in the next few steps.
Step 13
Step 13: After you’ve got the main outline finished, you can use your pen to fill in the blood stain on Ichigo’s head. Also, we’ll fill in the dark space in his mouth and fully fill in his nose. Around the eyes, we can thicken the eyebrows slightly and fill in the dark spots under his eyes (3D shading principle). Looks like he hasn’t had a good night’s sleep in a long time.
Step 14
Step 14: Before moving on to do some shadow stenciling, we’ll go ahead and thicken the jaw lines on the left and the right. Got it? Great.
Step 15
Step 15: In this final step, we can do some shading with our pen to suggest shadows. Mainly, we’ll shade the area of his neck on the right under the chin to the adam’s apple and a small part of his collar on the right. Also, around where the eyebrows turn up in the hook, we can add some furrow lines there and just under the eyes.
Step 16
Step 16: That’s it, mangakas! Use your eraser to completely erase any remaining construction lines and there you have him, Ichigo the Soul Reaper! If your goal is to become a great mangaka make sure to draw Ichigo again from memory. Then compare the final drawing with the original and correct any mistakes you might have made. Try once again from memory. This is the best way to build a huge library of shapes that you can use in the future for your own manga characters.
Draw with passion! -_^ Hiroshi





3 comments
Comments are closed.